During installation, the InTouch has already been configured, but you may need to adjust specific settings later. This article explains how to modify three key settings:
- Vacuum valve: Controls if the vacuum valve operates as a Normal or Inverted valve.
- Remote switch: Enables or disables the use of an external button as an alternative for the main button on the InTouch.
- Cluster: Controls how the clusters move before and after milking.
If you want to change other settings of your InTouch, read the InTouch Installation Manual.
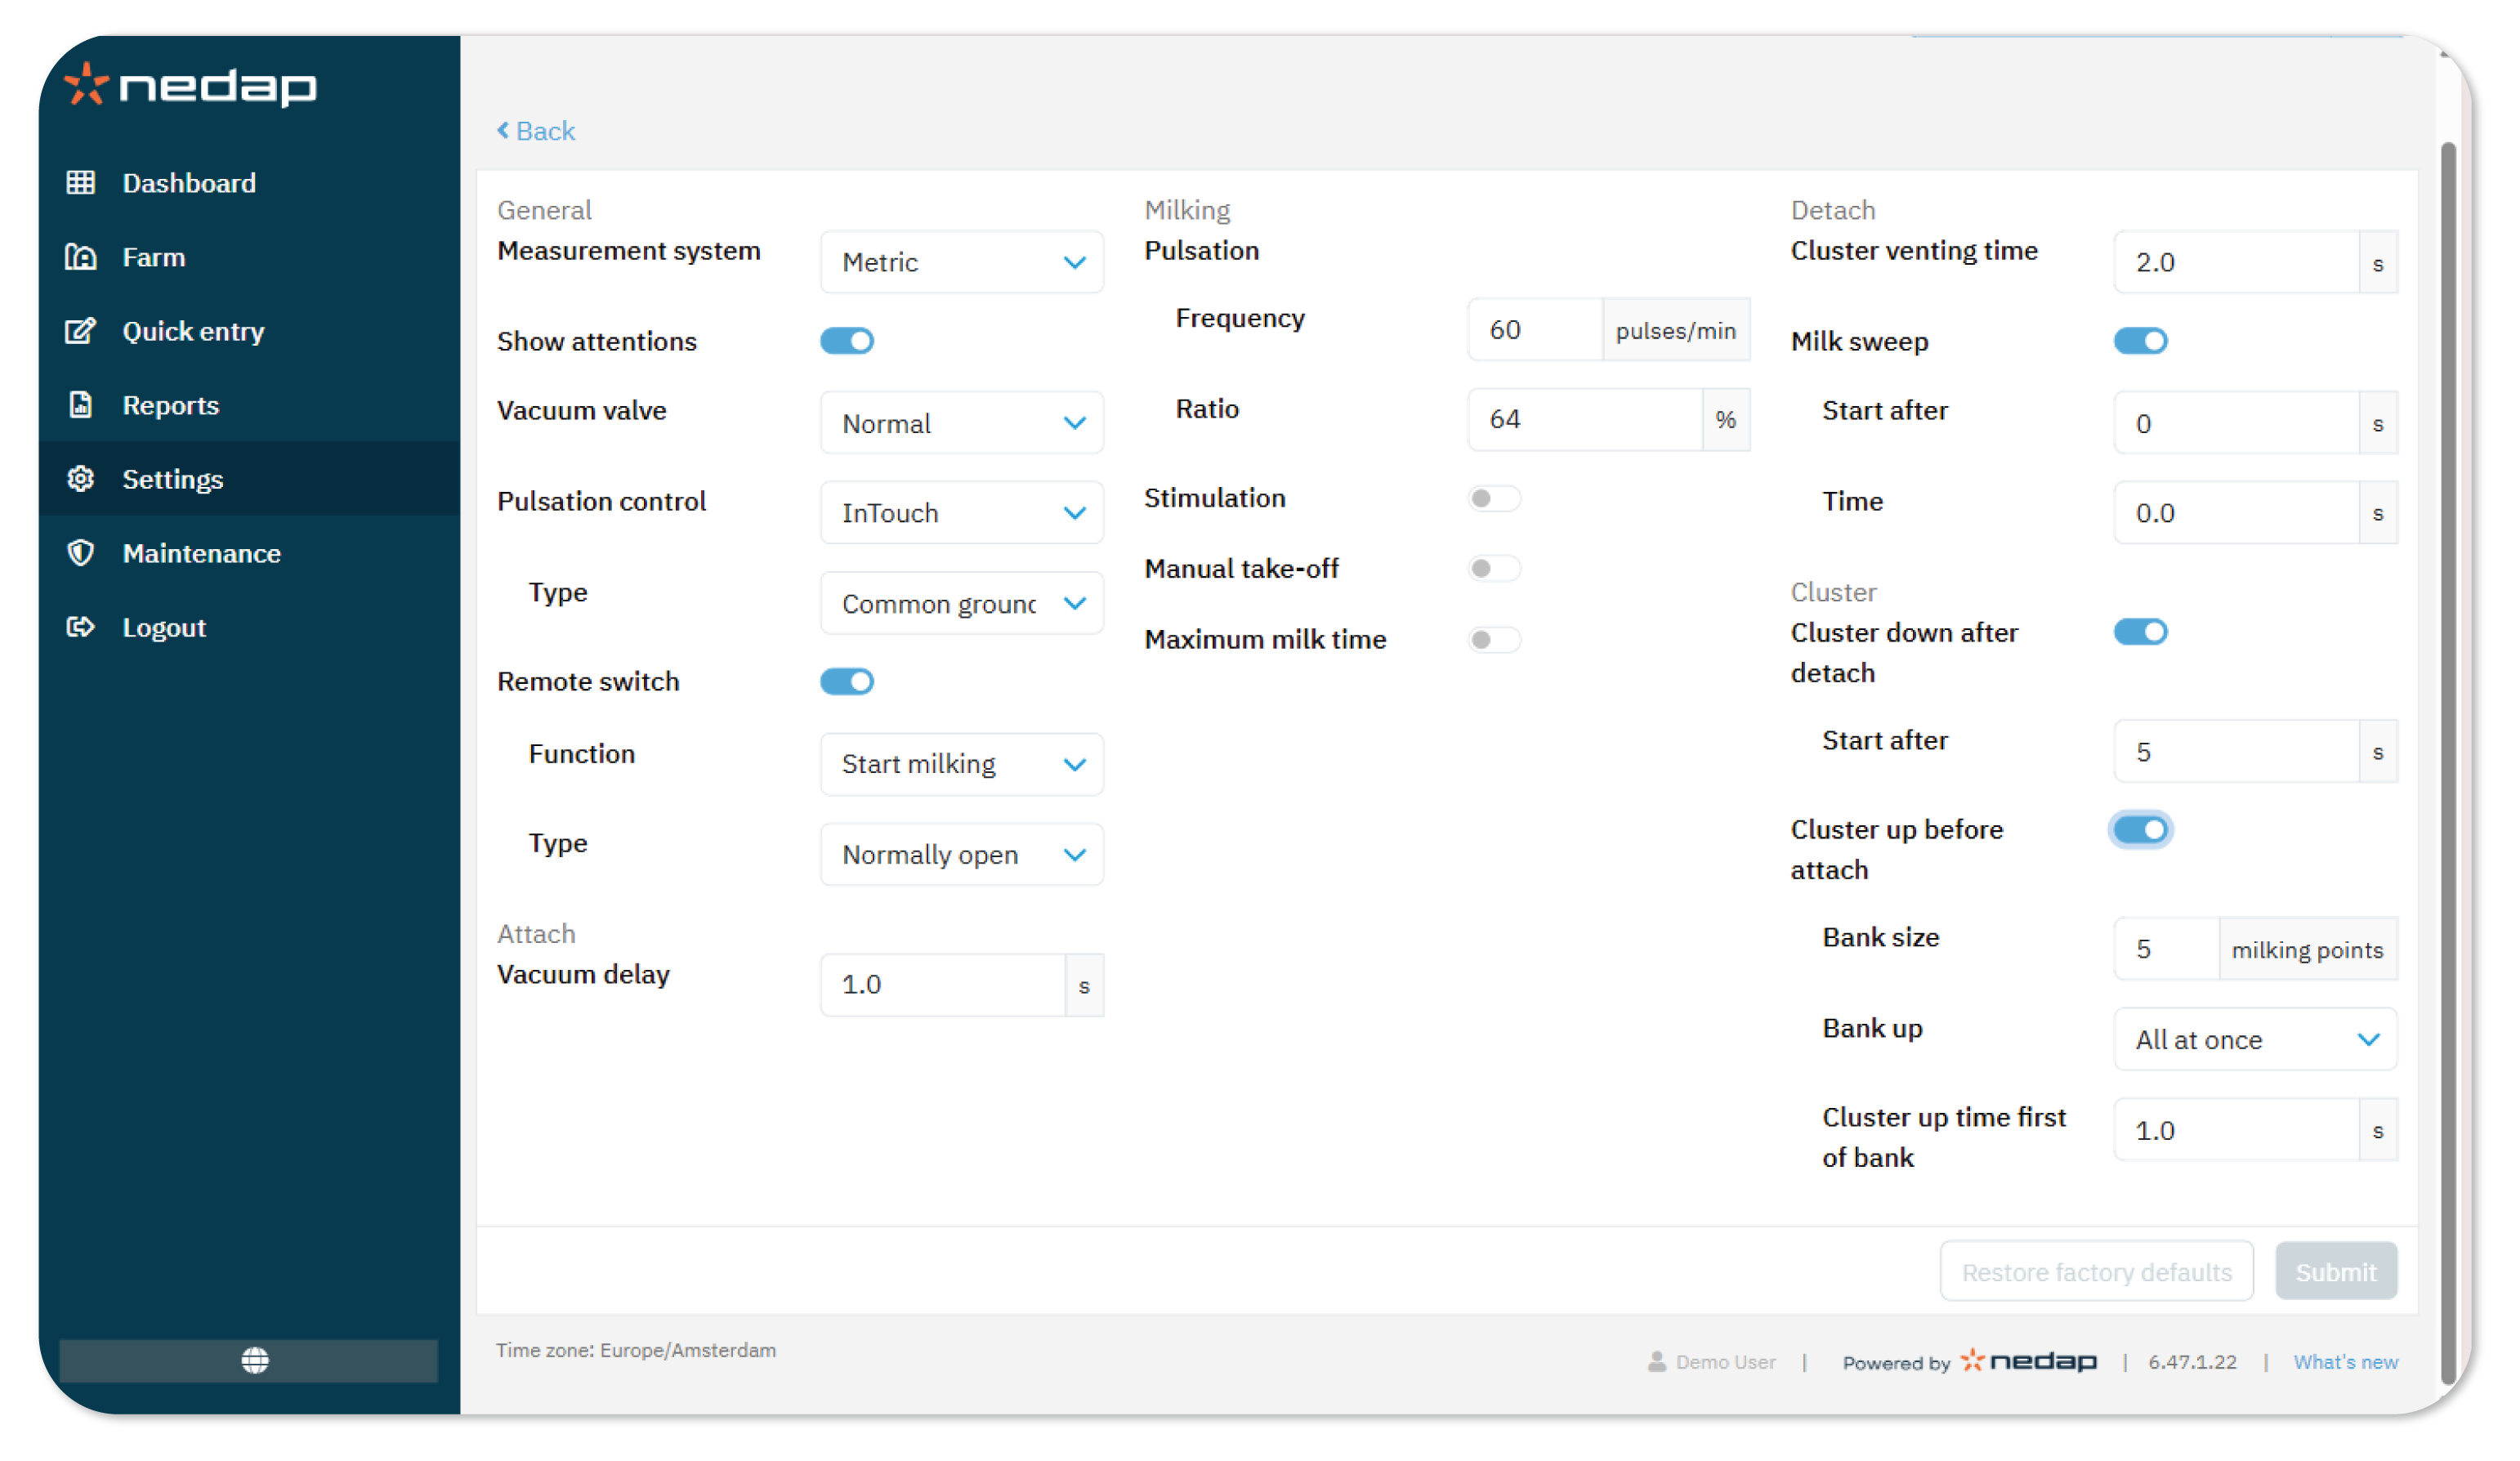
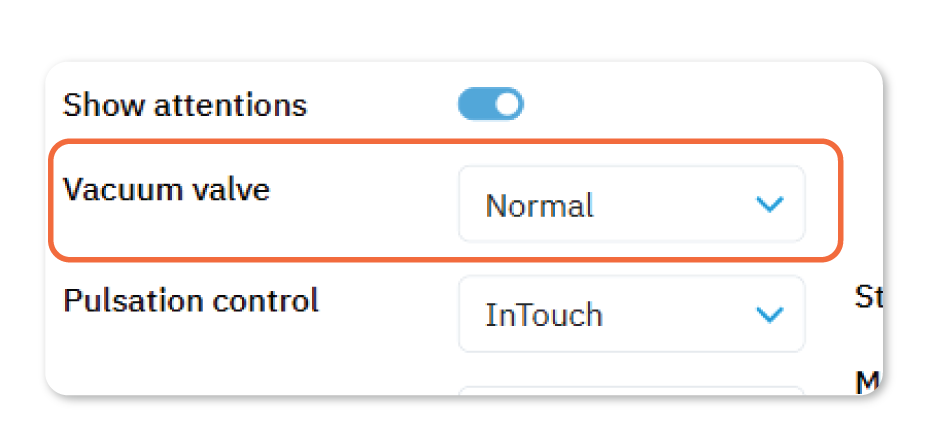
Adjust the Vacuum Valve Setting
Control how and when vacuum is applied to the milking clusters.
- Select Settings from the menu.
- Under Milking, select InTouch settings
- Select the parlor you want to adjust the settings of.
- At Vacuum valve, choose one of the following options:
- Normal: Vacuum is applied when the valve is activated.
- Inverted: Vacuum is applied when the valve is not activated.
- Select Submit.
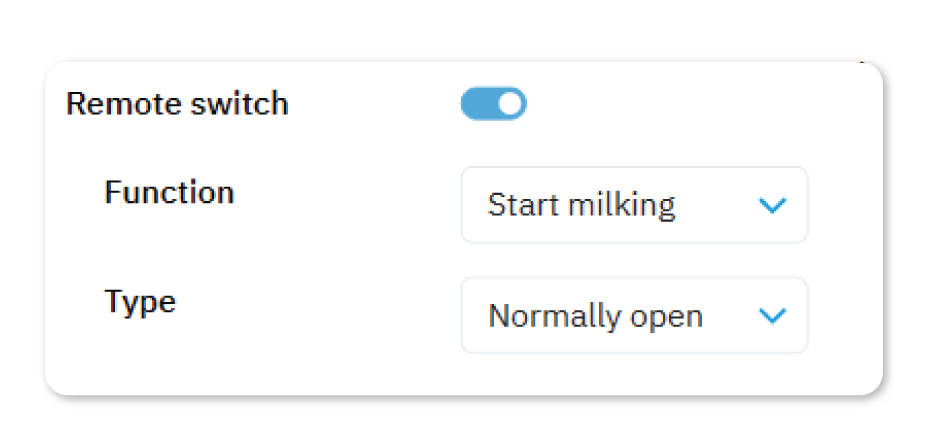
Turn the Remote Switch On or Off
Enable this option to use an external button as an alternative to the InTouch main button.
NoteWire the remote switch according to the instructions stated in the InTouch Installation Manual.
- Select Settings from the menu.
- Under Milking, select InTouch settings
- Select the parlor you want to adjust the settings of.
- Turn the Remote switch toggle on or off:
- Toggle off: No remote switch is used, only the main button on the InTouch.
- Toggle on: An external button is used as an alternative for the main button on the InTouch. Define the following settings
- Function: Select if the remote switch is only used to Start milking or functions exactly as the InTouch button (Remote main button).
- Type: Select if the remote switch is:
- Normally open: The contact is closed when the button is pressed.
- Normally closed: The contact is open when the button is pressed.
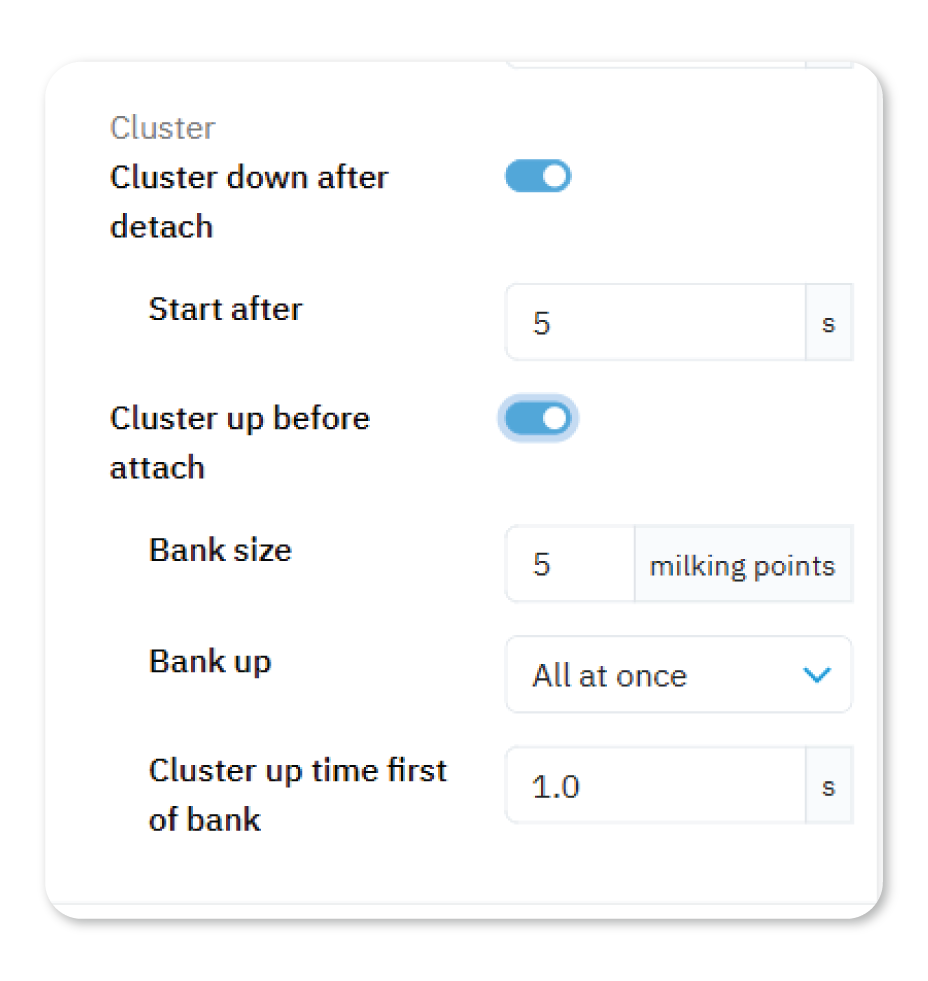
Control Cluster Movement
Set how clusters move before and after milking. Enable toggles to reveal related options.
- Select Settings from the menu.
- Under Milking, select InTouch settings
- Select the parlor you want to adjust the settings of.
- Under Cluster, you find the settings:
- Cluster down after detach (on/off): Use this option when the cluster must move down after take‑off. When on, you can set:
- Start after: Delay between take‑off and cluster down (0–120 seconds; default 5). At take‑off, clusters move up first, so a short delay may be needed before they can move down.
- Cluster up before attach (on/off): Use this option when the cluster must move up before milking (often combined with Cluster down after detach). When on, you can set:
- Bank size: How many clusters move up at the same time (min 1; max full row; default full row).
- Bank up: How clusters move up within a bank:
- One by one: Starting milking at one point moves up the next point’s cluster, until the bank size is reached. Then the cycle repeats for the next bank.
- All at once: Starting milking at one point moves up all clusters in the bank; then the cycle repeats for the next bank.
- Cluster up time first of bank: If you start milking while the cluster is down, it moves up during this time before milking starts. The delay ranges from 0.0 to 9.9 sec, with a default setting of 0.0 sec.
NoteA value of 0.0 means the operator must lift the cluster by hand.